VCF 9.1.x Licensing in a disconnected environment
This post describes the configuration of licensing in a disconnected VCF 9.1 environment. As you can see, this involves quite some steps and I would recommend to use the connected / online option if possible to make life easier. This will also reduce the task of uploading the usage file every 180 days.
VCF Licensing and registration.
The following steps are needed to register VCF Operations and import VCF licenses in a Disconnect VCF deployment.
| Step | Where | What |
|---|---|---|
| 1 | VCF Operations | => Create and download Registration File |
| 2 | VCF Business Portal | => Import Registration File |
| 3 | VCF Business Portal | => Download Verification File |
| 4 | VCF Operations | => Import Verification File |
| 5 | VCF Operations | => Download the Confirmation File |
| 6 | VCF Business Portal | => Upload Confirmation File |
| 7 | VCF Business Portal | => Download License |
| 8 | VCF Operations | => Import License |
1. VCF Operations => Create and download Registration File
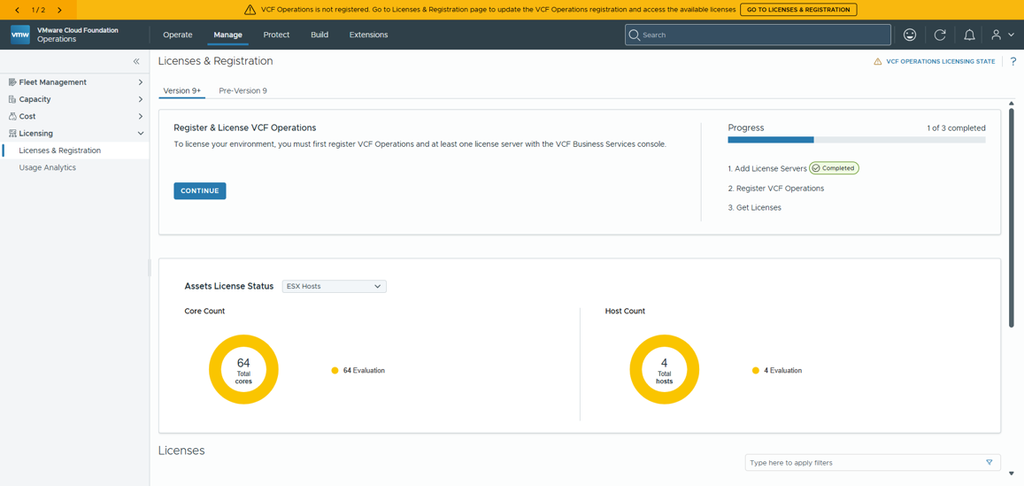
=> VCF Operations: Go to Manage, Licensing, Licenses & registration -> Click Continue
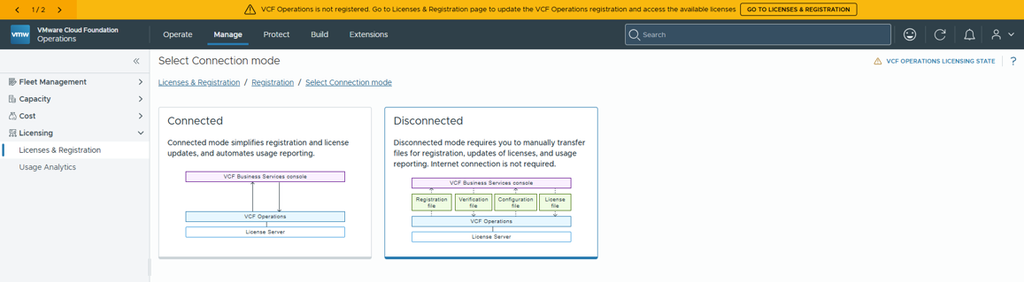
=> Select Disconnected
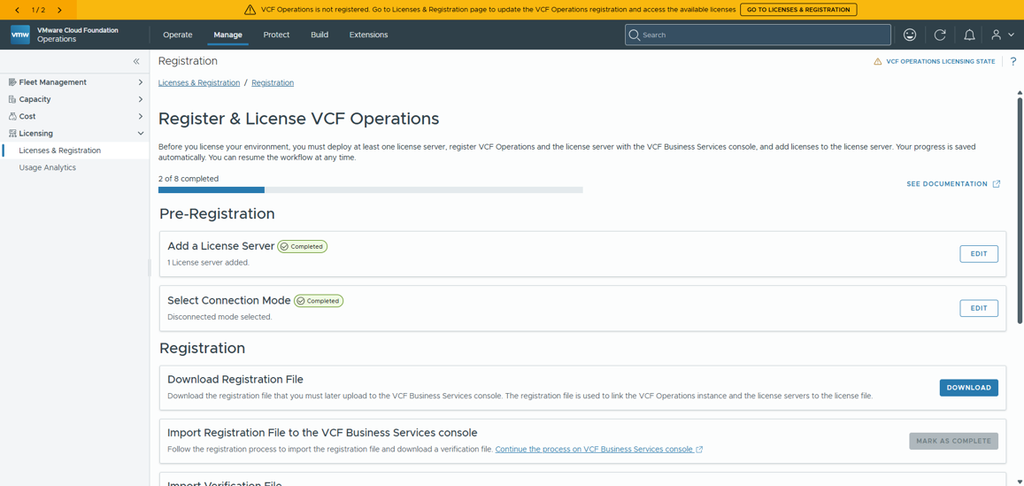
=> VCF Operations: Download Registration file
Example filename: registration-mssops01.vtam.lab-2026-10-18T16_48_07.737Z.registration
2. VCF Business Portal => Import Registration File
=> Login to the VCF Business Portal https://vcf.broadcom.com
=> Import the registration file
3. VCF Business Portal => Download Verification File
=> Right after the importing the registration file, you can download the verification file.
Example filename: verification-mssops01.vtam.lab_2026-10-18_16-51-33-128Z.verification
4. VCF Operations => Import Verification File
=> VCF Operations: Mark as Complete to continue
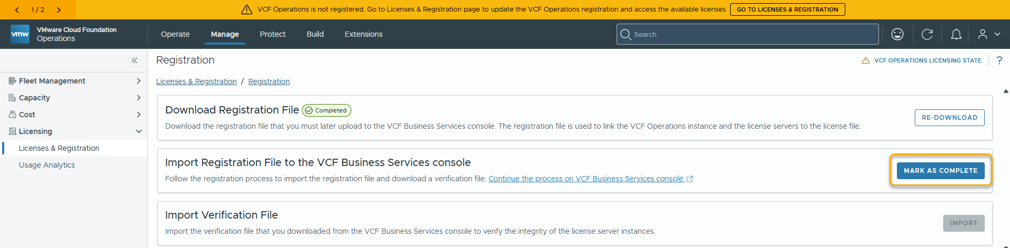
=> VCF Operations: Import Verification File

5. VCF Operations => Download the Confirmation File
=> VCF Operations: Download the Confirmation File
Example filename: confirmation-mssops01.vtam.lab-2026-10-18T16_53_28.297Z.confirmation
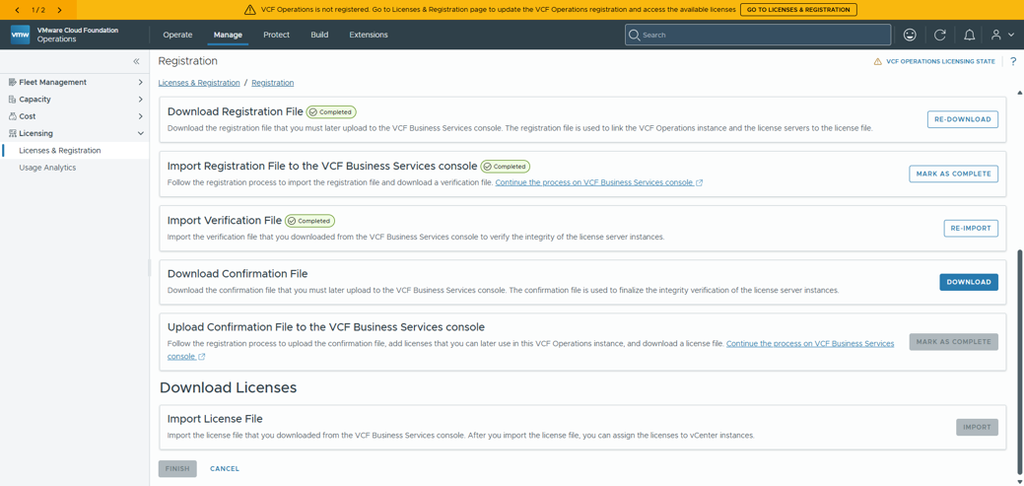
6. VCF Business Portal => Upload Confirmation File
=> Whilst still logged in to VCF Business Portal
=> Upload the Confirmation File
7. VCF Business Portal => Download License
=> Right after the uploading the confirmation file, you can download the license file.
Example filename: license-mssops01.vtam.lab_2026-10-18_17-05-31-484Z.lic
8. VCF Operations => Import License
=> VCF Operations: Mark as complete to continue
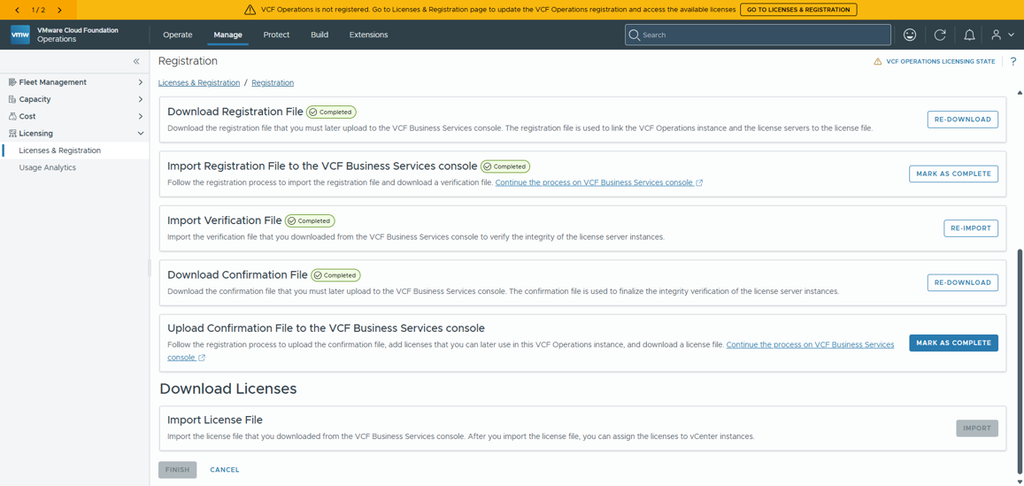
=> VCF Operations: Import License
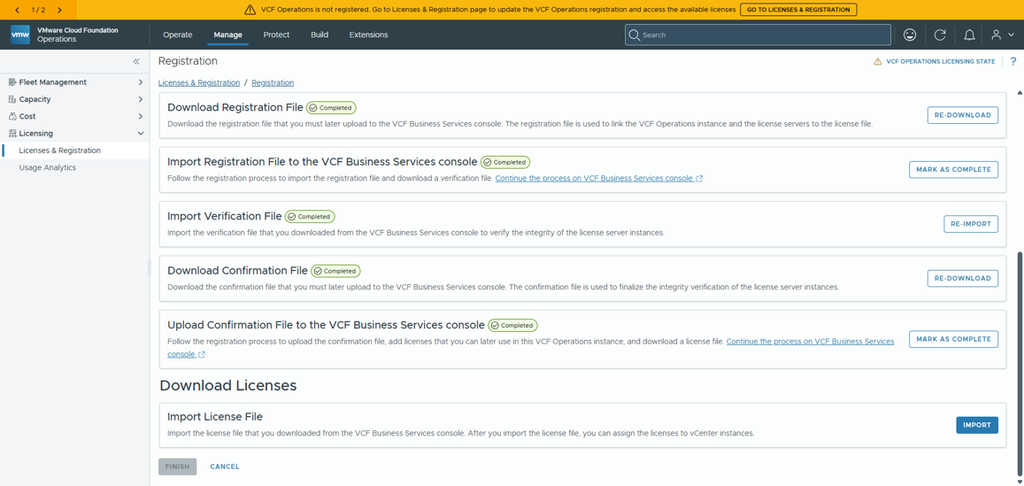
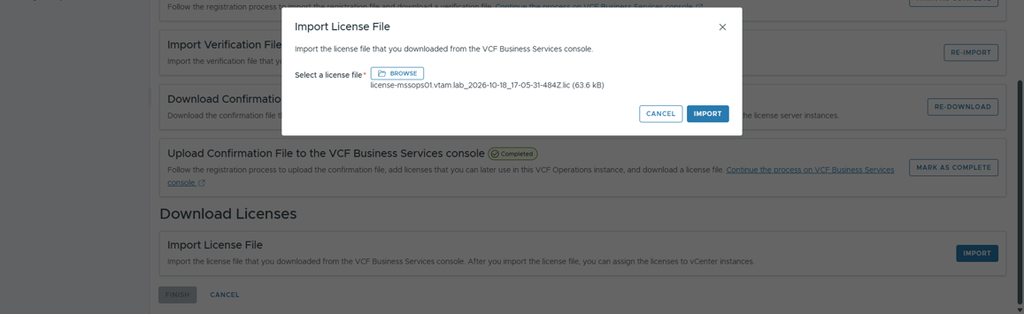
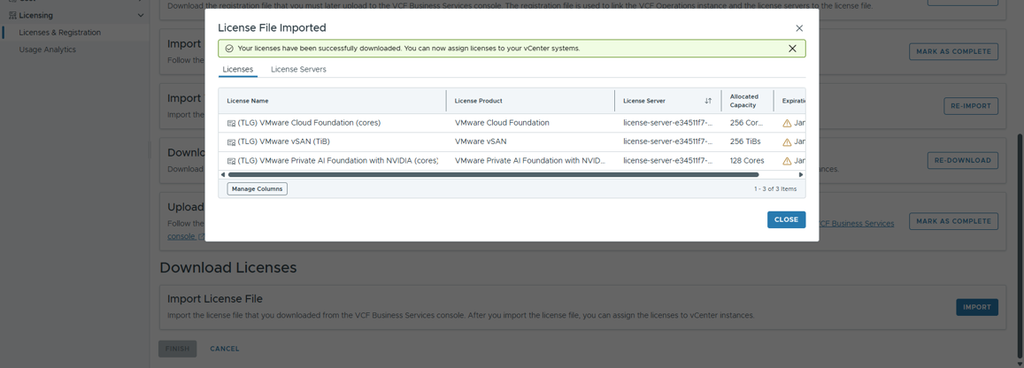
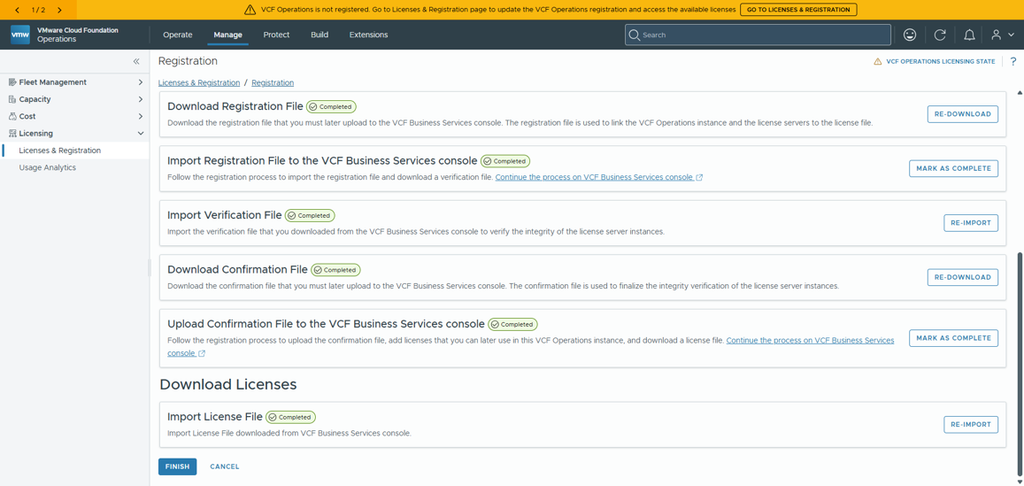
=> VCF Operations: Finish
Assign and configure Licenses
After VCF Operations is registered and the license is imported, you have to assign them to vCenter(s).
=> VCF Operations: Go to Manage, Licensing, Licenses & registration
=> Select vCenter(s) -> Click Assign Primary License
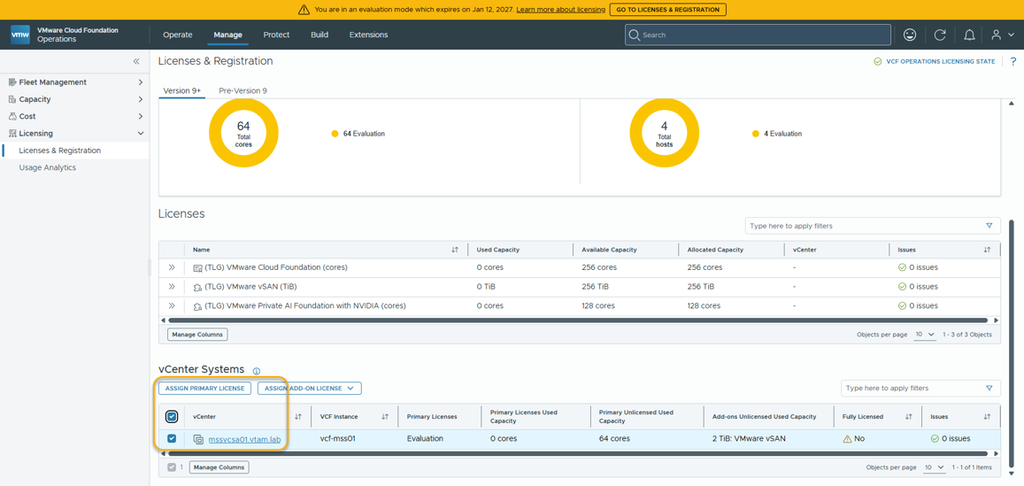
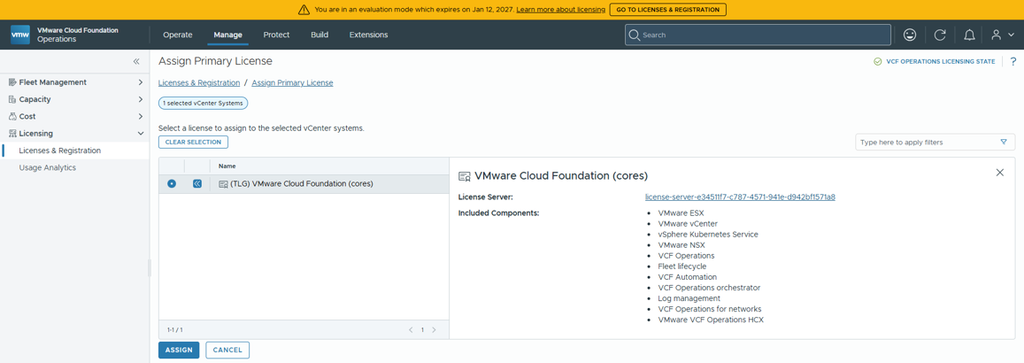
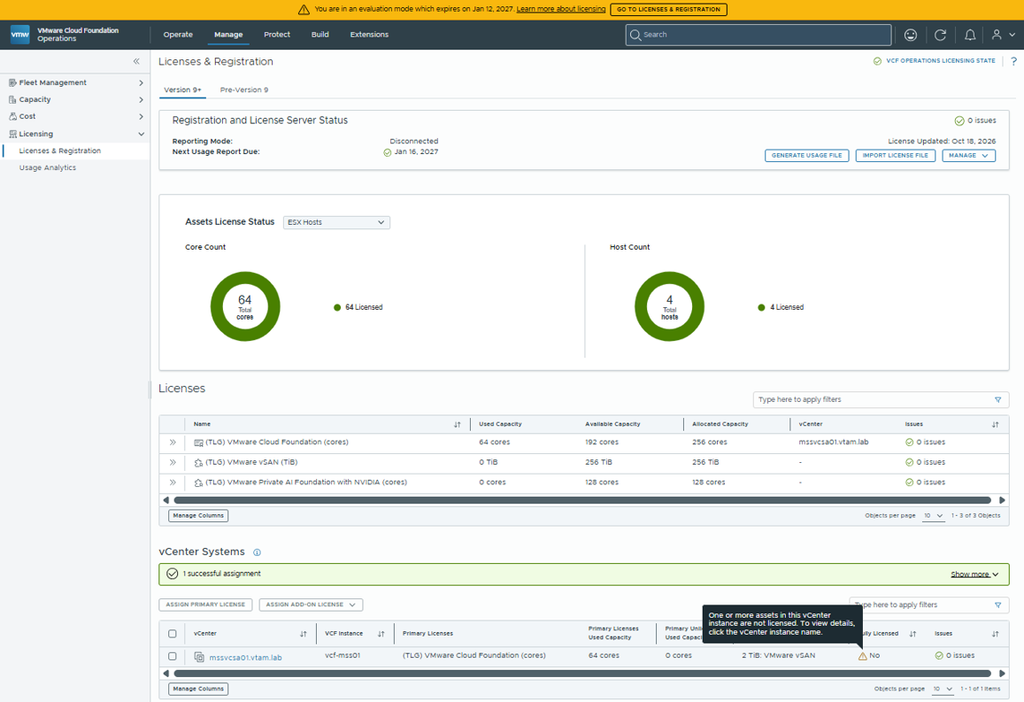
After assigning the license to vCenter you will notice that the licensed status is not fully licensed with the message: One or more assets in this vCenter instance are not licensed. This is because you also need to assign the vSAN licenses as you can see when checking vCenter; it shows vSAN Licenses are in evaluation mode:
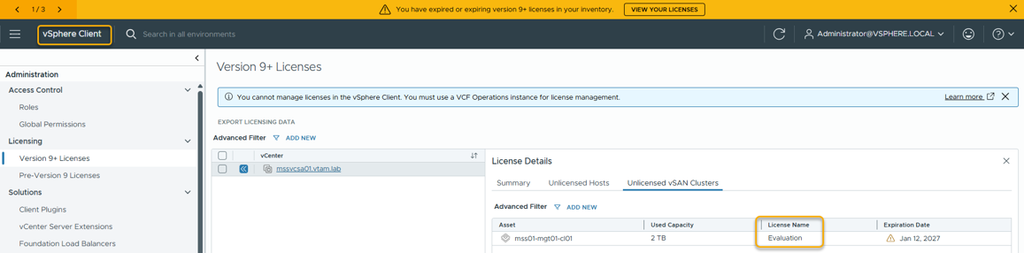
=> VCF Operations: Go to Manage, Licensing, Licenses & registration
=> Select vCenter(s) -> Click Assign Add-On License, vSAN
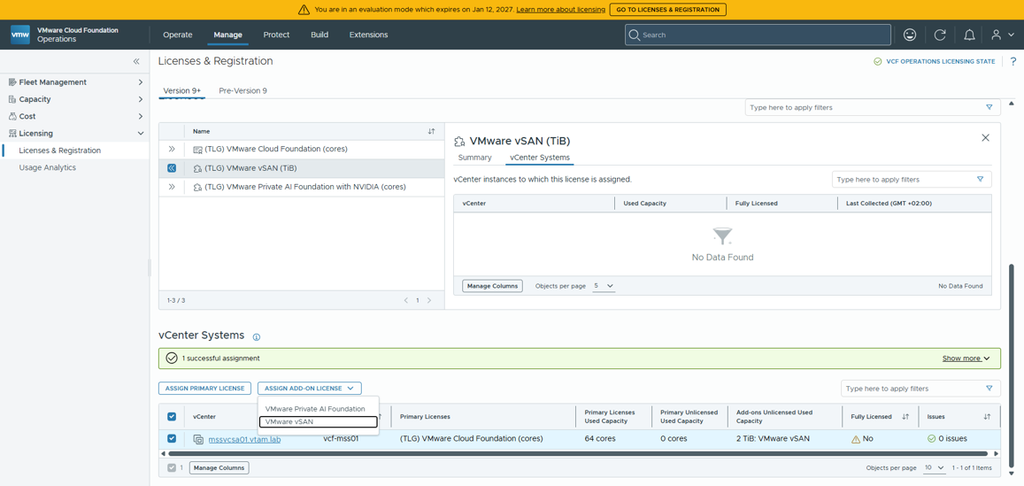
Result: vCenter now fully licensed
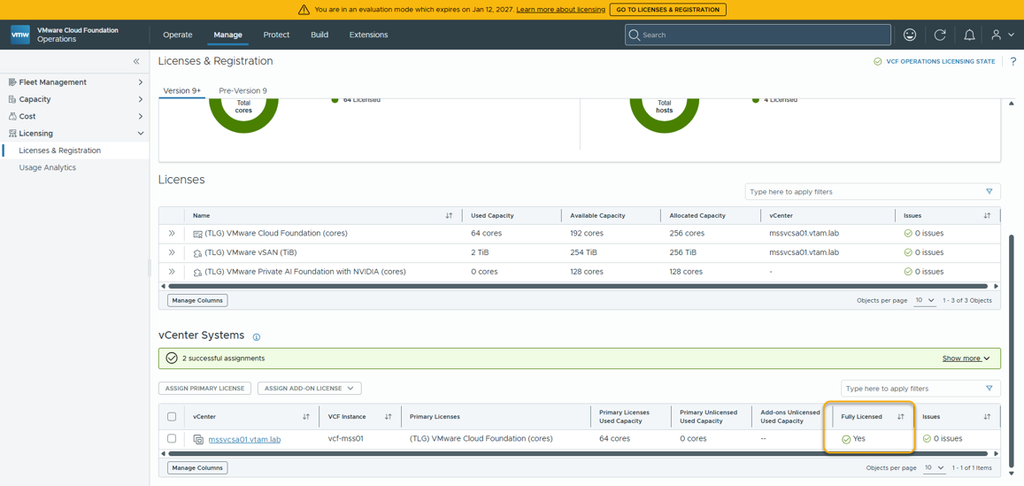
Note: The License warning banner will disappear after logout / login.
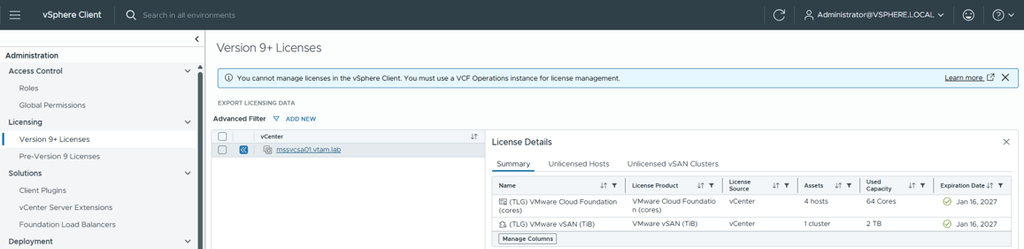
Result: In vCenter the vSAN licenses are now assigned. Evaluation license is removed
References:
- Assign an Add-on License to a vCenter Instance
https://techdocs.broadcom.com/us/en/vmware-cis/vcf/vcf-9-0-and-later/9-1/licensing/assign-an-addon-license-to-an-asset.html- “With your VCF subscription, in addition to your VMware Cloud Foundation (cores) license you receive a vSAN (TiBs) license”
- Reassign licenses to a new VCF Operations (VCF) Instance https://knowledge.broadcom.com/external/article/438979/
- If you are wondering about the contents of the VCF Registration and Usage files check this post from Paul on [hollebollevsan.nl].