vRSLCM SSO with CNAME
With vRSLCM we are able to integrate with vIDM for SSO purposes. This works flawlessly as long as we use the actual hostname fqdn’s, but as soon as customers use a CNAME to access the same vRSLCM instance with SSO enabled, we encounter SSO logon redirect issues.
With this blog-post I will try to explain how to workaround this issue with help of official VMware documentation. Starting point is a working vRSLCM installation based on Server/VM-name, with vIDM integration enabled, and with a CNAME pointing to the same IP-address. In this situation the SSO set up will not work if we use CNAME’s to access vRSLCM.
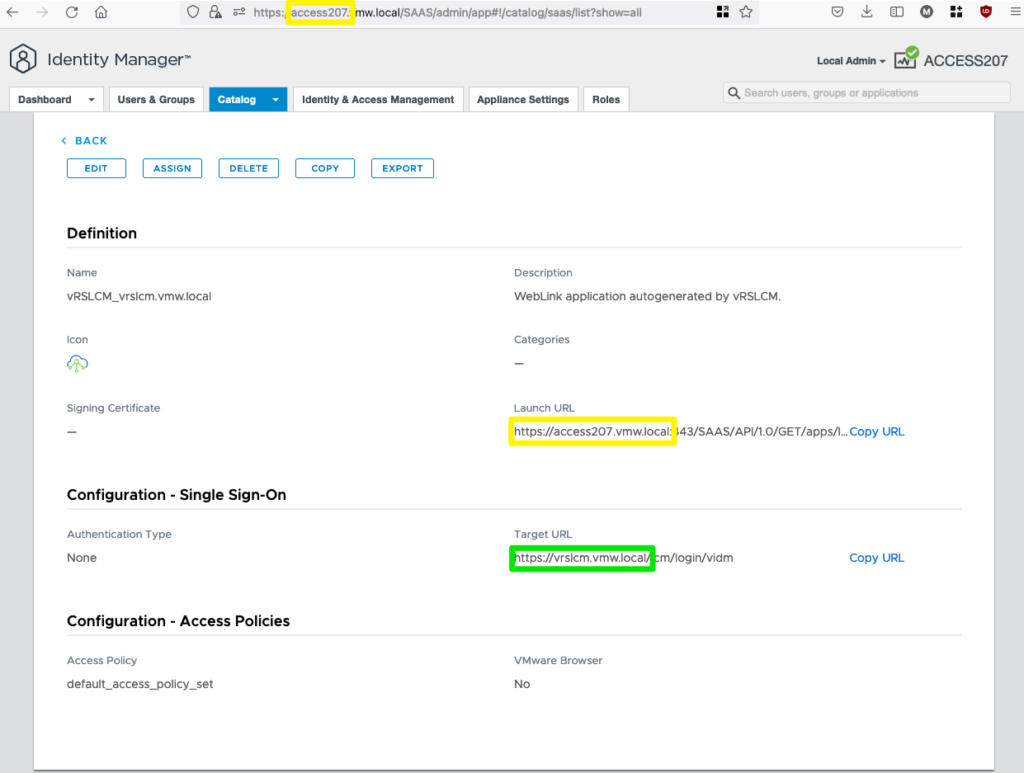
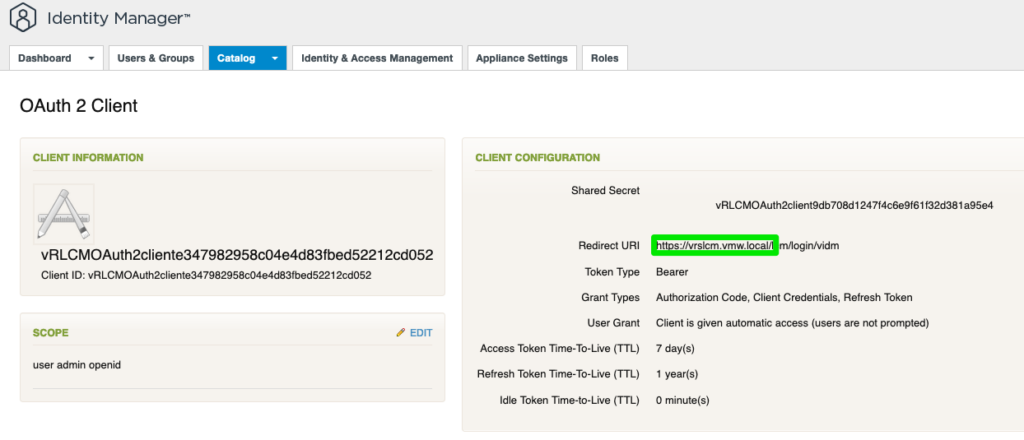
Below some screenshots of the starting point:
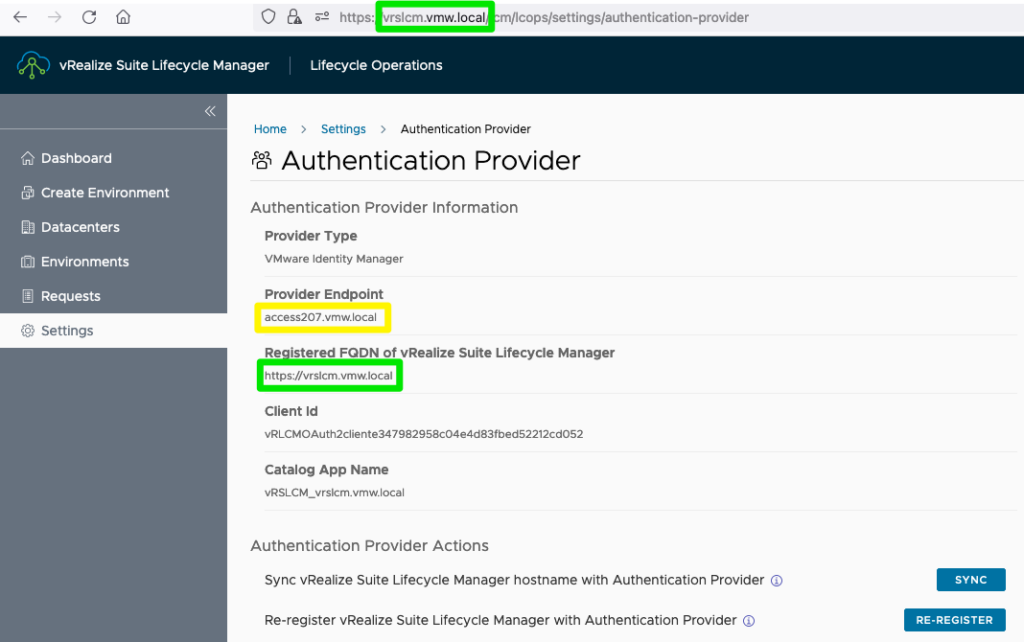
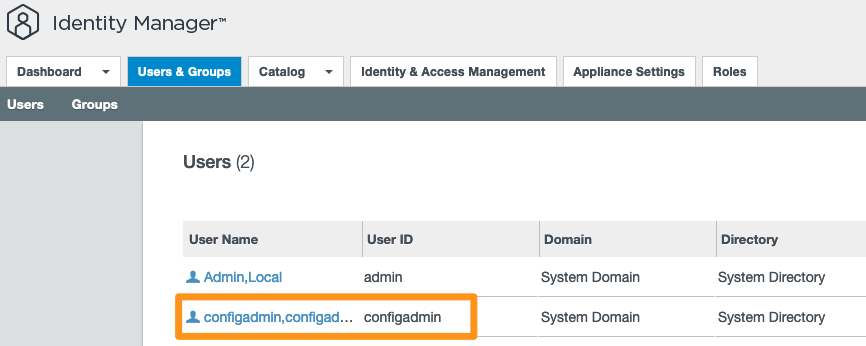
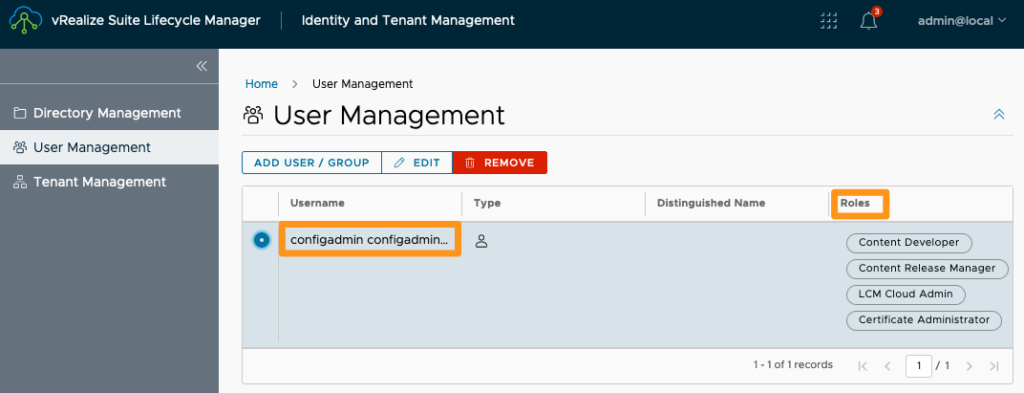
So far, the default vRSLCM<>vIDM integration will work when used with the actual hostname we deployed it with. But, if we now access the environment with a CNAME (lcm-sso.vmw.local) pointing to the same address, we encounter an empty page.
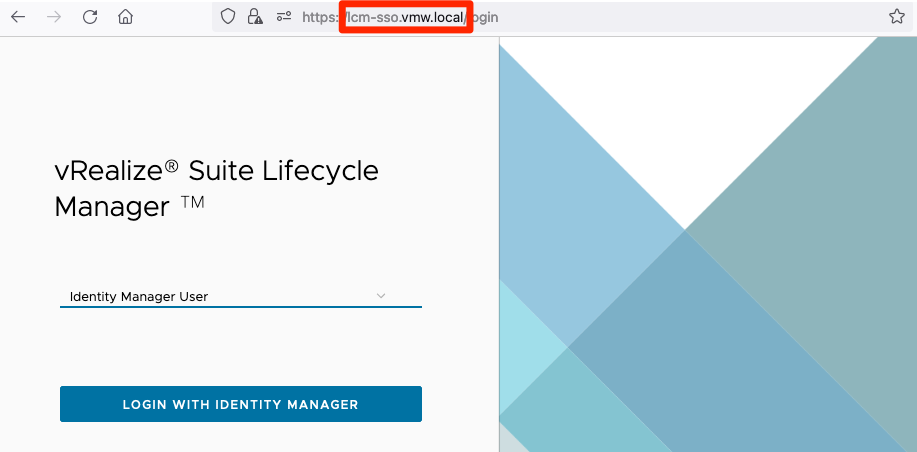

This is expected because, as we have seen in the vIDM configuration, a Redirect-URI is used pointing to vrslcm.vmw.local. This is where it gets interesting and some might think of just changing the fields in vIDM to point to lcm-sso.vmw.local instead. Unfortunately, this is not as easy as is seems. Instead, we need to follow the procedure below to make it work as expected!
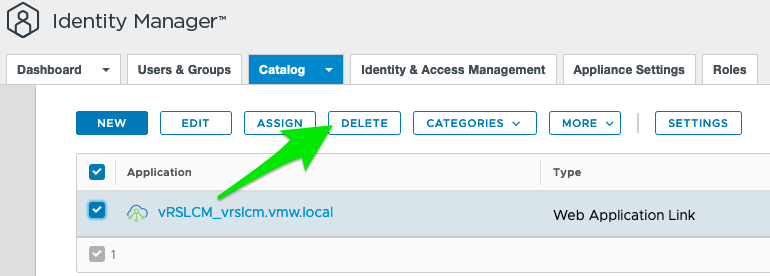
First, we need to clean-up the Catalog-item and Remote Access config in vIDM.

Secondly, if not already in place, we need to create an updated certificate that contains both the Server and CNAME as Subject Alternate Names and replace it.
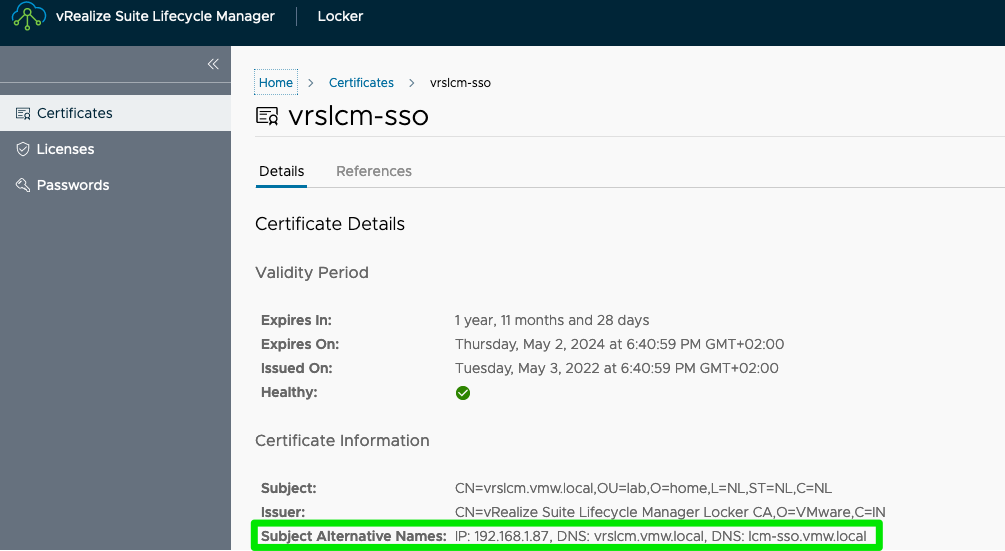
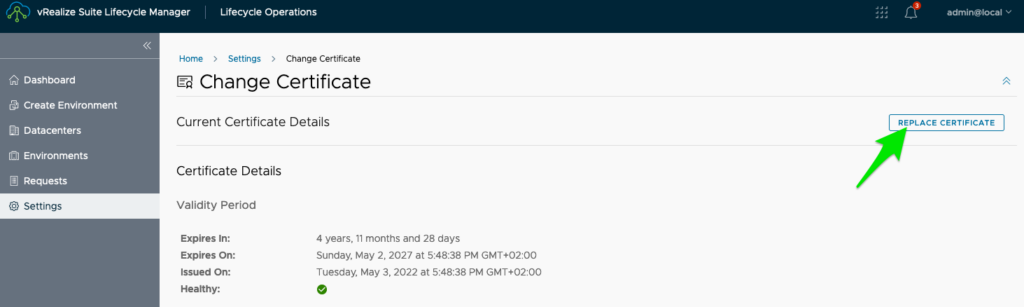
If needed, please check the result as seen after a browser refresh! This should now contain the SAN’s.
Then we can use the official procedure to update a vRSLCM Hostname to point it to the CNAME we want to use. Below an example from my lab:
root@vrslcm [ / ]# rm /opt/vmware/etc/vami/flags/vami_setnetwork
root@vrslcm [ / ]# /opt/vmware/share/vami/vami_set_hostname lcm-sso.vmw.local
	== set_ipv4 ==
	DEFULT_INT: eth0
	DEFAULT_IPV4: 192.168.1.87
	HN: lcm-sso
	DN: vmw.local
	==============
	== set_ipv6 ==
	DEFULT_INT: eth0
	DEFAULT_IPV6:
	HN: lcm-sso
	DN: vmw.local
	==============
	Host name has been set to lcm-sso.vmw.local
>> Power down VM and change OVF-hostname value
>> Start VM
>> Check config:
root@lcm-sso [ ~ ]# /opt/vmware/share/vami/vami_config_net
	Main Menu
	0)      Show Current Configuration (scroll with Shift-PgUp/PgDown)
	1)      Exit this program
	2)      Default Gateway
	3)      Hostname
	4)      DNS
	5)      Proxy Server
	6)      IP Address Allocation for eth0
	Enter a menu number [0]: 3
	New hostname [lcm-sso.vmw.local]:
root@lcm-sso [ ~ ]# hostname
lcm-sso.vmw.local
root@lcm-sso [ ~ ]# cat /etc/hosts
# Begin /etc/hosts (network card version)

# End /etc/hosts (network card version)
# VAMI_EDIT_BEGIN
# Generated by Studio VAMI service. Do not modify manually.
127.0.0.1  lcm-sso.vmw.local lcm-sso localhost
::1  lcm-sso.vmw.local lcm-sso localhost ipv6-localhost ipv6-loopback
# VAMI_EDIT_END
>> Reboot vRSLCM host
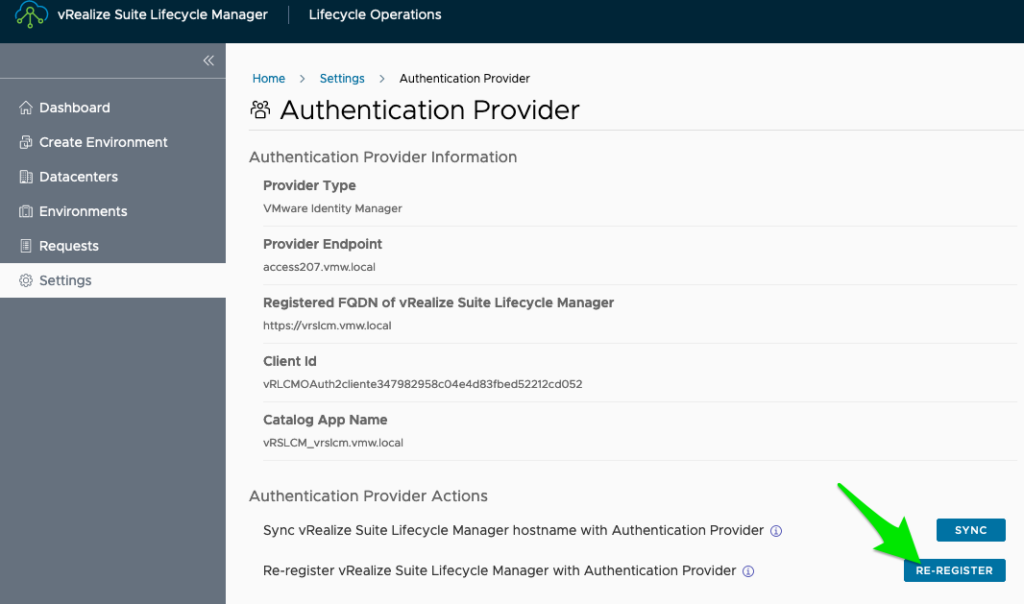
And finally we need to re-register with vIDM to get the new Redirect-URI in place.
Notice the change!
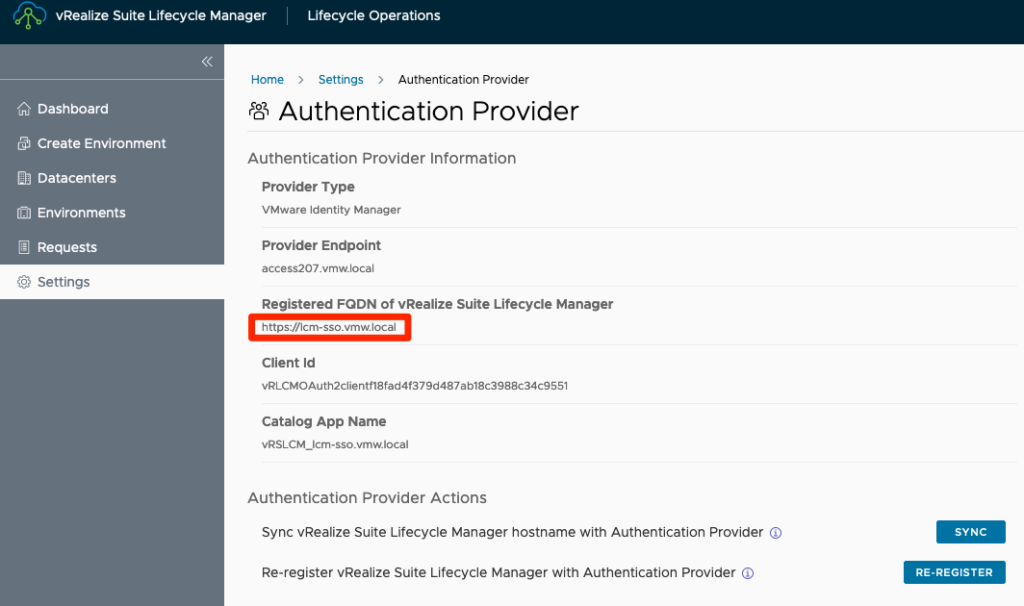
You can now use your vRSLCM instance based on the CNAME. Enjoy!